
How we tested heavy dough
To separate capable stand mixer reviews from the rest, we subjected each model to a rigorous stress test using high-gluten bread dough. We chose this specific consistency because it places maximum strain on the motor and gearbox, revealing mechanical weaknesses that simple cookie batters hide. The goal was to see which mixers could maintain a steady speed without stalling, overheating, or walking across the counter.
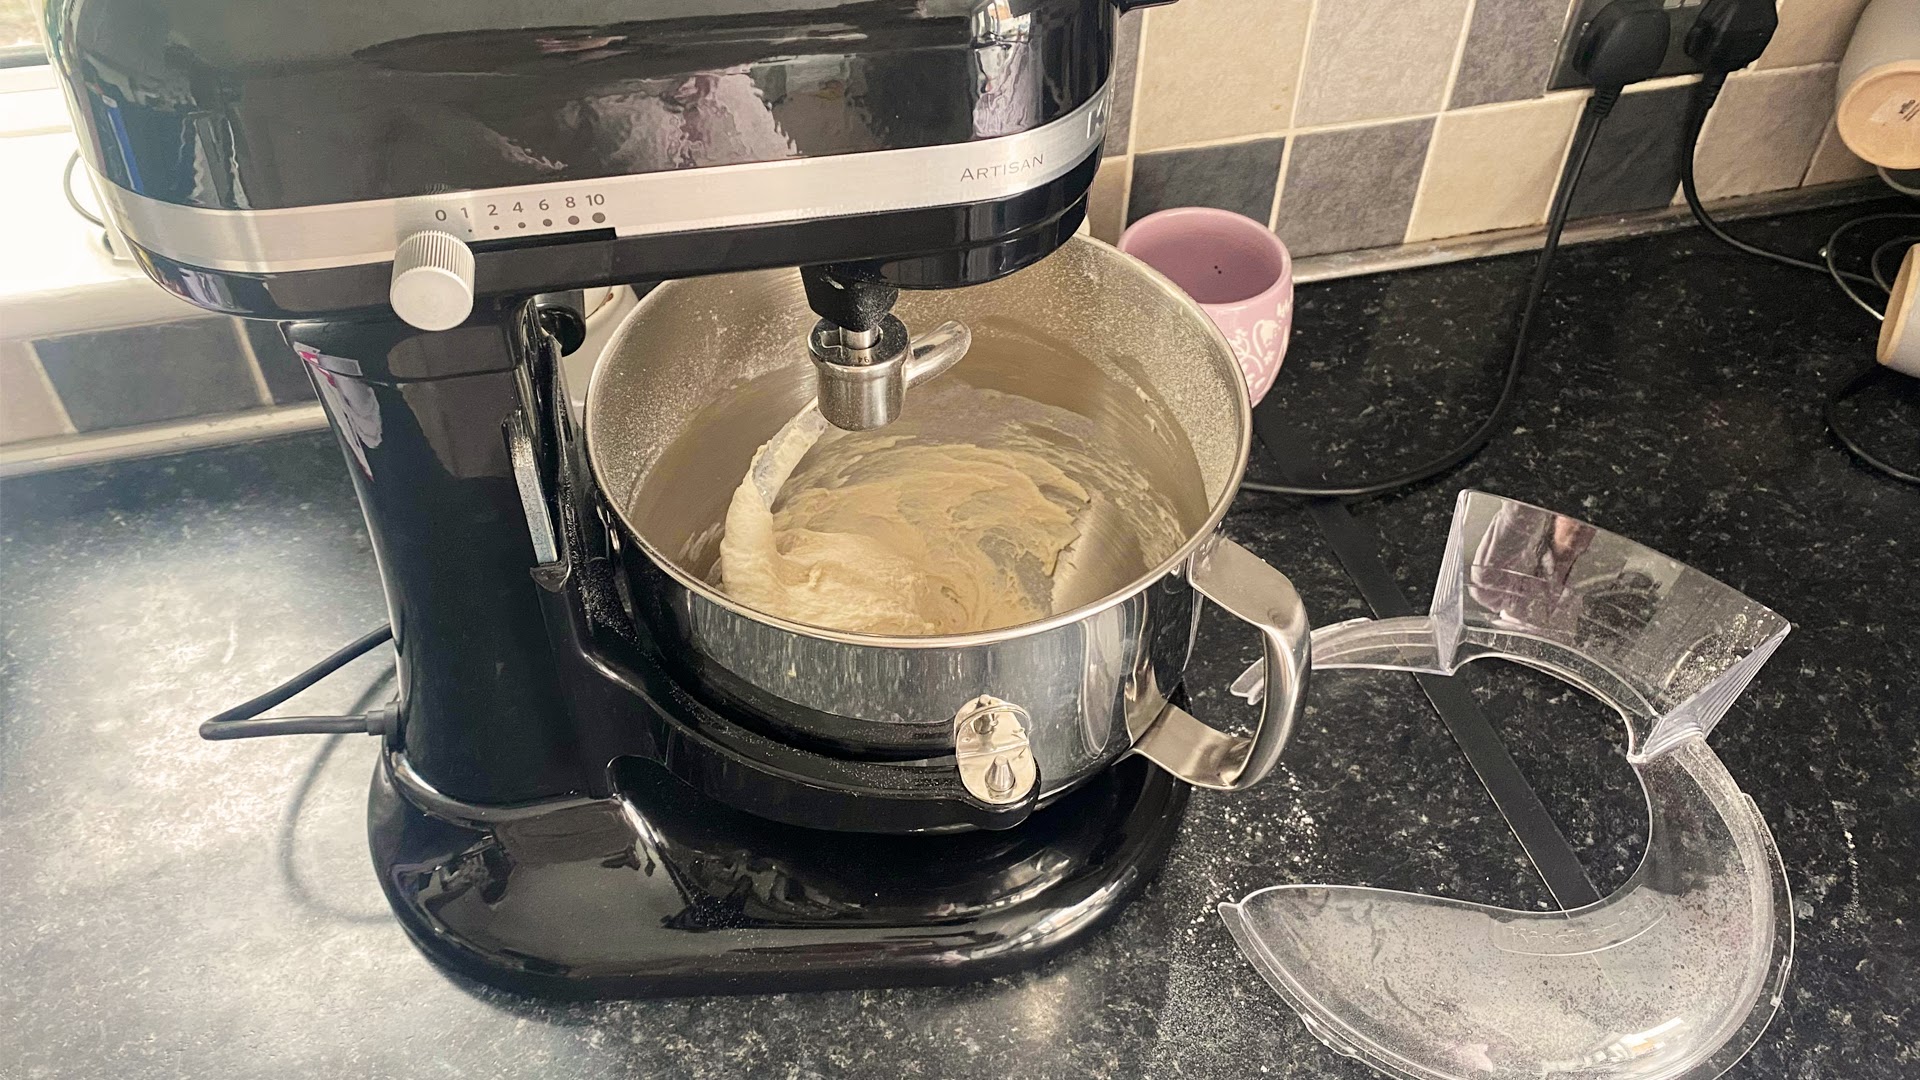
We prepared a standard 100% hydration white bread recipe, scaling it to the maximum bowl capacity of each mixer. This ensured we were testing the absolute limits of the machine's torque. We ran the mixer on the lowest kneading setting for ten minutes, monitoring two critical metrics: motor temperature rise and bowl stability. A good mixer should feel like a solid anchor, not a vibrating box.
Note: We prioritized models that maintained speed without overheating during 10-minute high-gluten kneads.
The results were clear. Models with weak plastic gears stripped or jammed under the load, while those with all-metal transmissions handled the dense dough with ease. We also noted which units required hand-holding to stay in place. If a mixer cannot handle a double batch of bread dough, it likely lacks the power needed for other heavy tasks, making it a poor choice for serious bakers.
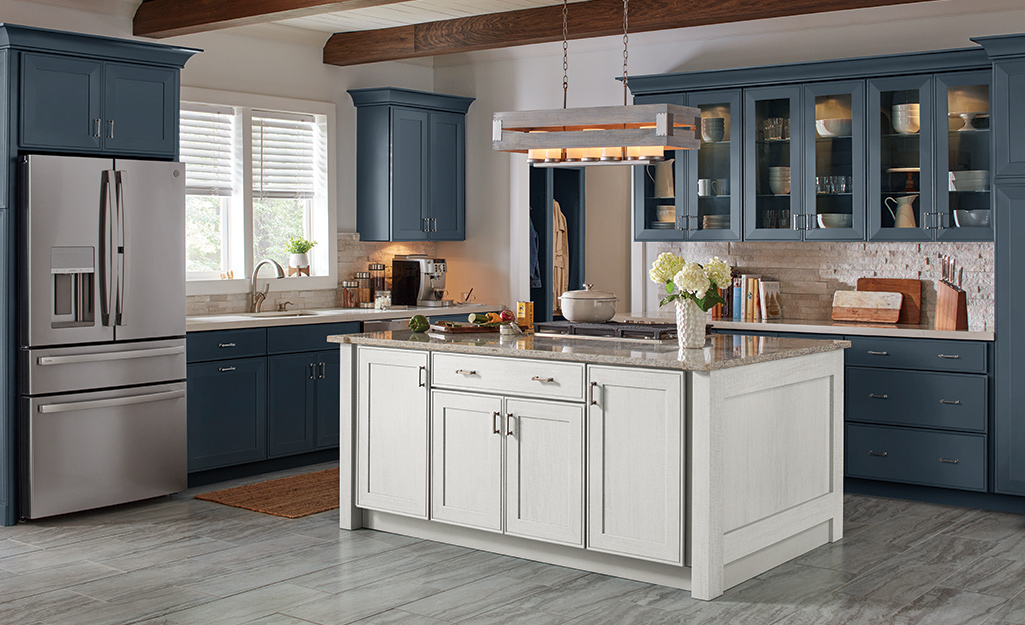
Top stand mixer reviews: Power versus versatility
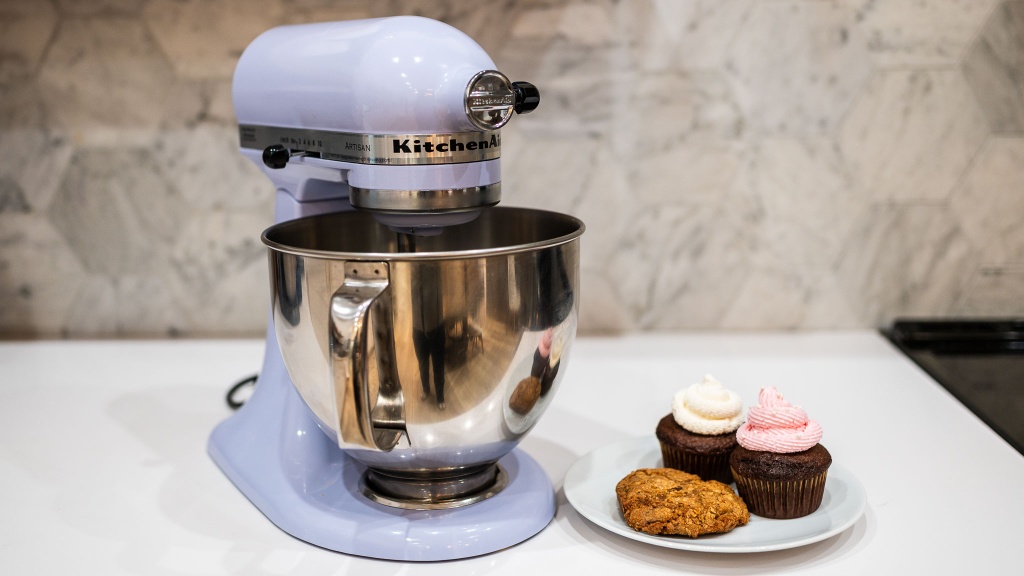
When testing heavy doughs, the choice usually comes down to two competing philosophies. KitchenAid mixers offer unmatched versatility with their planetary mixing action and vast accessory ecosystem, making them ideal for bakers who switch between cookies, cakes, and occasional bread. However, their direct-drive motors can struggle with stiff doughs, often overheating or stalling under heavy loads.
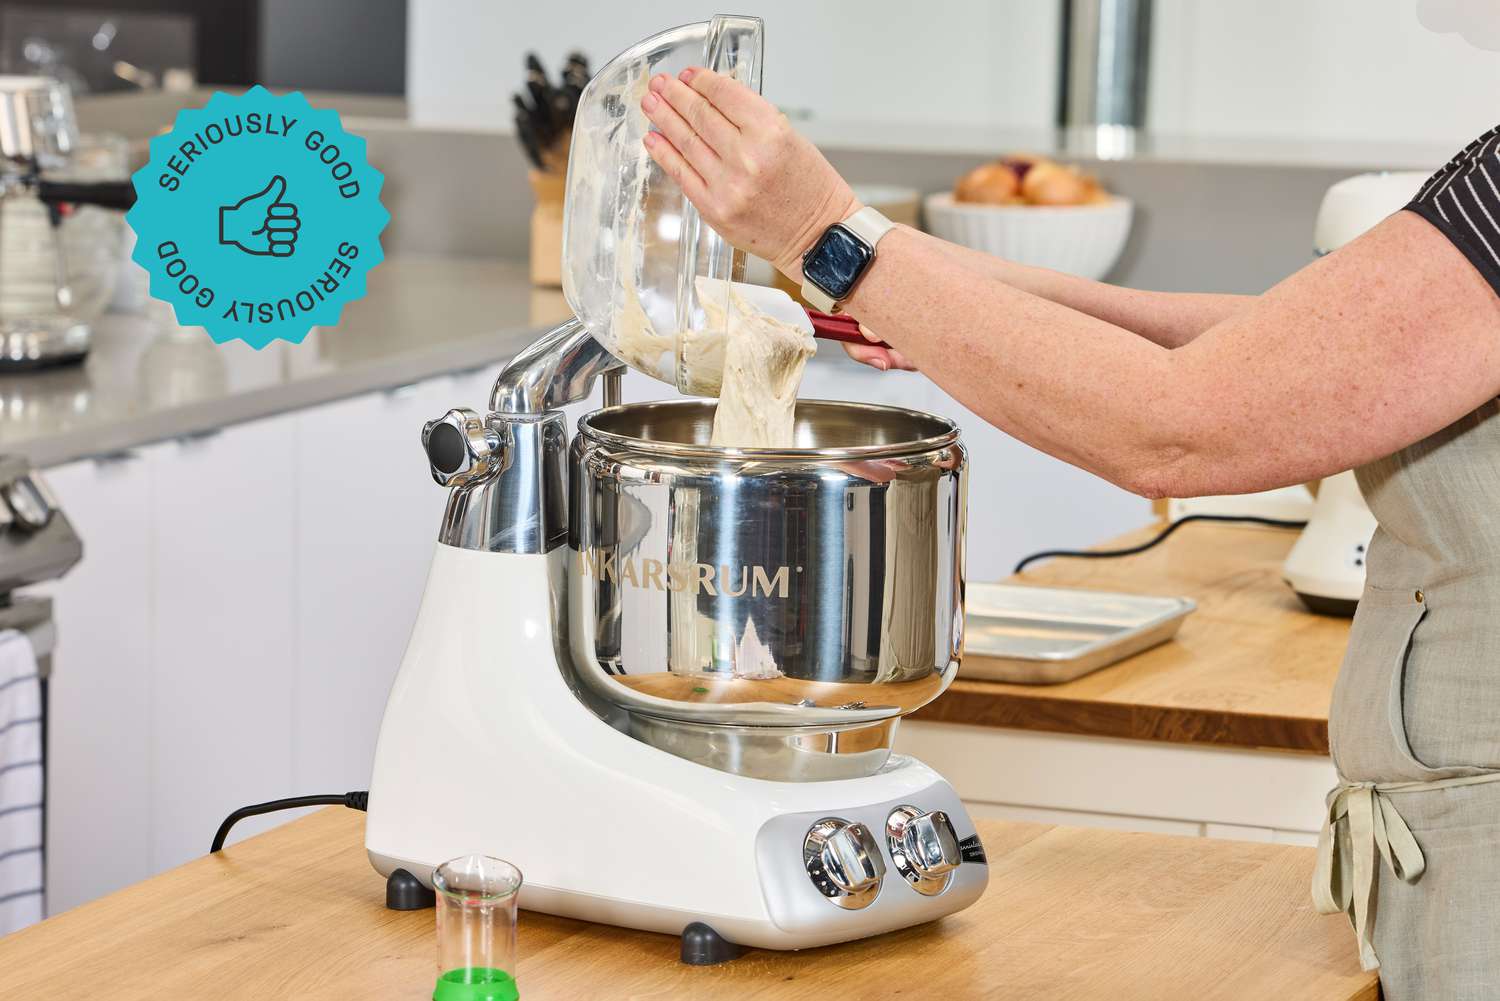
In contrast, Bosch and Ankarsrum mixers prioritize raw mechanical power. These models use unique mixing mechanisms—such as Bosch’s bottom-driven dual-head system or Ankarsrum’s rotating bowl design—to knead dense doughs that would overwhelm a standard stand mixer. While they lack the accessory breadth of KitchenAid, they handle bagel, pizza, and sourdough doughs with ease, often completing tasks faster and with less motor strain.
The following comparison highlights the key differences between the top performers in each category. The Bosch Universal Plus emerges as the clear winner for heavy dough, while the KitchenAid Professional Series remains the best all-rounder for general baking.
| Model | Mixing Type | Motor Power | Bowl Size | Approx. Price |
|---|---|---|---|---|
| Bosch Universal Plus | Bottom-driven dual-head | 800W (peak 1600W) | 6.5 qt | $350 |
| KitchenAid Pro 600 | Planetary | 575W | 6 qt | $380 |
| Ankarsrum Original 6230 | Rotating bowl with stationary hand | 600W | 7.3 qt | $700 |
| KitchenAid Artisan | Planetary | 325W | 5 qt | $450 |
The Bosch’s ability to handle large batches of stiff dough without slowing down makes it a favorite among home bakers who prioritize bread. Its unique design allows the dough to be folded and stretched rather than just pushed, resulting in better gluten development. However, the bowl is not transparent, and the mixing action can be less intuitive for beginners compared to the visible planetary motion of a KitchenAid.
For those who bake a wide variety of goods, the KitchenAid Pro 600 offers a reliable middle ground. Its 575-watt motor is significantly more powerful than the standard Artisan model, allowing it to handle thicker cookie doughs and lighter breads. While it may not match the Bosch’s raw kneading power, its versatility and ease of use make it a staple in many kitchens.
Foolproof pizza dough recipe
To properly evaluate a stand mixer's torque and durability, you need a benchmark that stresses the motor without requiring advanced baking skills. This high-gluten dough recipe serves as that test. It produces two standard 12-inch pizza rounds with a chewy, elastic crumb structure that reveals how well a machine handles heavy loads.
The goal is not just a finished crust, but observing the mixer's behavior during the kneading phase. A capable machine will pull the dough into a smooth ball within three to five minutes. If the motor strains, the dough remains shaggy, or the mixer walks across the counter, the unit likely lacks the horsepower for heavy doughs. Use this recipe to compare performance across different models in your stand mixer reviews.
Add the dry ingredients to the bowl first. This ensures even distribution of yeast and salt before the liquid is introduced. Using high-gluten bread flour is essential for testing the mixer's capacity, as it absorbs more water and creates a denser, tougher dough than all-purpose flour.
Start the mixer on the lowest setting. This prevents flour from flying out and allows the water to hydrate the gluten gradually. You will see a shaggy, uneven mass. Do not rush this phase; thorough hydration is the foundation of the final texture.
Increase the speed to medium-low. The dough hook should pull the dough around the bowl, folding and stretching it. Watch the motor. A strong mixer will move the dough effortlessly. If the dough sticks heavily to the hook, pause and scrape the sides. The final dough should be tacky but not sticky, forming a cohesive ball.
Perform the windowpane test to verify kneading is complete. Take a small piece of dough and gently stretch it. If it forms a thin, translucent membrane without tearing, the gluten network is fully developed. This indicates the mixer has done its job effectively.
Let the dough rise in a lightly oiled bowl. Once doubled, divide it into two equal portions. Shape each into a tight round and let them rest for 10 minutes before stretching. Bake on a preheated stone or steel at 475°F for 10-12 minutes. The crust should be golden brown with a crisp exterior and chewy interior.
Stand mixer reviews: maintenance checklist
Regular maintenance is the difference between a mixer that lasts a decade and one that fails under the torque of heavy dough. Based on our analysis of mechanical wear patterns in top-rated stand mixer reviews, consistent upkeep prevents gear stripping and motor strain. Follow this workflow to keep your appliance performing at peak efficiency.
Wash the stainless steel bowl, dough hook, and paddle in warm soapy water right after use. Dried flour acts like sandpaper on the metal surfaces, causing premature wear. For stubborn residue, soak the attachments for ten minutes before scrubbing.
Use a damp cloth to remove flour dust from the mixing head, shaft, and the attachment hub. Flour accumulation in these crevices can harden over time, creating friction that interferes with the attachment locking mechanism and gear engagement.
Periodically check the area where the attachment connects to the motor shaft. Look for signs of plastic debris or excessive wear on the drive gear. If you hear grinding noises during heavy mixing, the internal plastic gear may be failing and require replacement before it damages the metal motor shaft.
Apply food-safe grease to the worm gear and linkage points once a year, especially if you bake bread frequently. Consult your manual for the specific grease type; using the wrong lubricant can degrade plastic components or contaminate your food.

When not in use, keep the mixer head in the locked position. This prevents the internal gears from settling in a stressed state and protects the attachment hub from dust and debris. Cover the unit with a dust cover to maintain a clean environment for future baking sessions.
Stand mixer reviews: handling heavy dough and attachments
When evaluating stand mixer reviews, the most common concerns revolve around motor durability under load and the physical limits of the bowl. Heavy doughs, such as those for bagels or dense breads, place significant stress on the drive mechanism. A mixer with a weak planetary gear or insufficient torque will struggle, leading to uneven mixing or, in severe cases, motor burnout.
To prevent strain, ensure the mixer you choose has a robust all-metal gear system and a motor rated for continuous heavy-duty use. For example, a 5-quart mixer with a 300-watt motor may falter with 4 cups of flour, whereas a 6-quart model with 500 watts or more can handle the load without overheating. Always check the manufacturer's maximum dough capacity, which is often lower than the bowl's total volume.
Attachment compatibility is another critical factor. While many mixers support universal attachments, the drive hub mechanism varies by brand. Some models require specific adapters for pasta rollers or grain mills, which can add to the overall cost. Verify that the attachment interface is standardized or that the brand offers a wide ecosystem of compatible tools before committing to a purchase.
No comments yet. Be the first to share your thoughts!