
Make the recipe
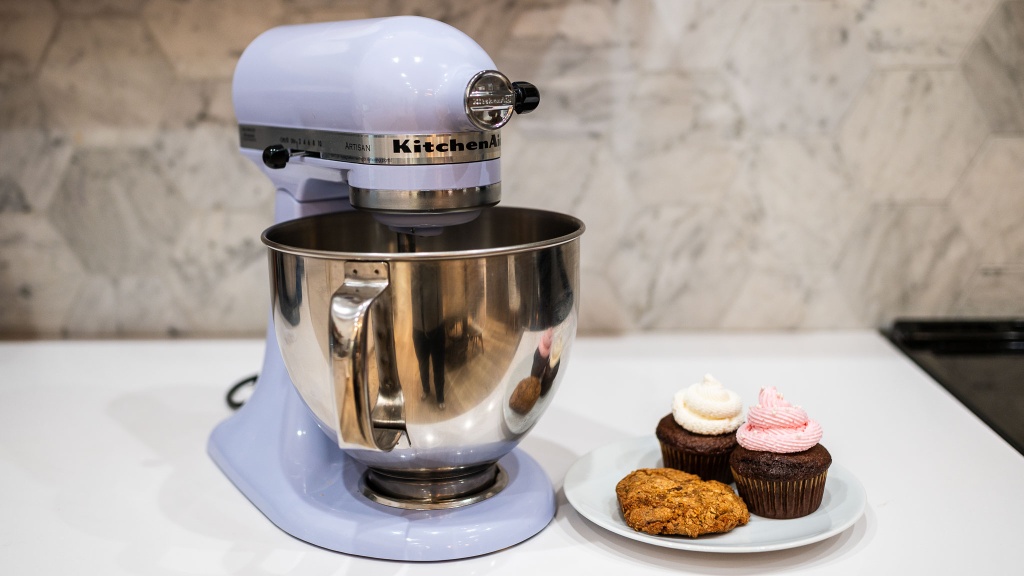
A stand mixer does more than save your arms; it changes how dough behaves. The right tool handles stiff bread dough without straining, whips egg whites to stiff peaks, and creams butter and sugar into something light. Choosing between models like the KitchenAid Artisan Plus or the Bosch Universal means weighing speed against versatility. The Bosch is faster with heavy doughs, while the KitchenAid offers a wider range of attachments for pasta, grinding, and more.
Regardless of the brand, the technique remains the same. You need a reliable recipe to test the machine’s limits. This simple whole-wheat bread recipe is perfect for checking torque, bowl capacity, and stability. It uses common ingredients and requires no special skills, making it an ideal test for any new kitchen upgrade.

If the mixer struggles or stalls during kneading, your dough is too stiff. Add water one tablespoon at a time. If it splatters, the speed is too high. Stick to the lowest kneading setting. A well-made mixer should run quietly and steadily. This bread is the ultimate stress test for your new appliance.
Keep the texture right
A stand mixer does the heavy lifting, but it doesn’t replace your judgment. The difference between a tender cake and a dense brick often comes down to how you manage the air and the fat. Use your stand mixer to create structure, not just to combine ingredients. Overworking gluten leads to toughness, while undermixing butter and sugar prevents the rise you need for a light crumb.
Start by creaming room-temperature butter and sugar until the mixture looks pale and fluffy. This step traps air bubbles that expand in the oven. If the mixture looks curdled, your butter was too cold or the eggs were added too quickly. Scrape down the bowl halfway through to ensure even incorporation. Add eggs one at a time, mixing just until blended.
When adding dry ingredients, switch to the lowest speed or use the paddle attachment’s "stir" setting. Mix only until the flour disappears. Any longer, and you activate the gluten, resulting in a chewy, dense texture rather than a tender crumb. Let the batter rest for five minutes before baking; this allows the flour to fully hydrate and the gluten to relax, ensuring even baking and a softer final product.

Use the paddle attachment on medium-high speed for 3–5 minutes. The mixture should double in volume and lose its grainy texture. This aeration is the primary leavening agent for many cakes.
Add eggs one at a time, mixing on low until fully absorbed before adding the next. This emulsifies the fat and liquid, preventing the batter from breaking or becoming grainy.
Switch to the lowest speed. Mix only until the flour streaks disappear. Overmixing at this stage develops gluten, leading to a tough, dense final product.
Swaps that still work
Ingredient substitutions rarely happen in isolation; they ripple through the chemistry of a recipe. Replacing butter with oil changes the fat content and moisture balance, while swapping all-purpose flour for almond flour alters the protein structure and binding capability. Understanding these trade-offs helps you adjust technique rather than guessing blindly.
The following comparison table outlines common swaps and the specific adjustments needed to keep your baked goods and cooked dishes from collapsing or drying out. Use this as a quick reference when you are mid-recipe and realize you are missing a key pantry staple.
When making these swaps, pay attention to texture first. Oil-based batters are denser, so do not overmix them. Almond flour lacks gluten, so the structure relies entirely on eggs; if the mixture feels too wet, add a tablespoon of starch or extra egg white. Always test a small batch if you are trying a new combination for the first time, especially before committing to a holiday meal or large gathering.
Serve and store it
Let the bread rest for at least 15 minutes before slicing. Cutting into it while it’s still hot traps steam inside, turning the crumb gummy and dense. Use a serrated knife for clean slices that don’t crush the crust.
For leftovers, wrap the loaf tightly in plastic wrap, then place it in a freezer-safe bag. It keeps well for up to three months. Avoid the refrigerator; the cold temperature accelerates staling by realigning the starch molecules, making the bread go hard much faster than freezing does.
To reheat, thaw the bread at room temperature if possible. For a fresh-baked texture, wrap the loaf in foil and warm it in a 350°F oven for 10–15 minutes. If you’re in a hurry, slice the frozen bread and toast it directly. This restores the crisp exterior while warming the interior without making it chewy.
Stand mixer reviews: common: what to check next
Choosing the right stand mixer often comes down to matching the motor and mechanism to your actual baking habits. While KitchenAid dominates the market, it isn't the only option for heavy doughs or quick mixing. Here are the most frequent questions from home bakers.
No comments yet. Be the first to share your thoughts!